

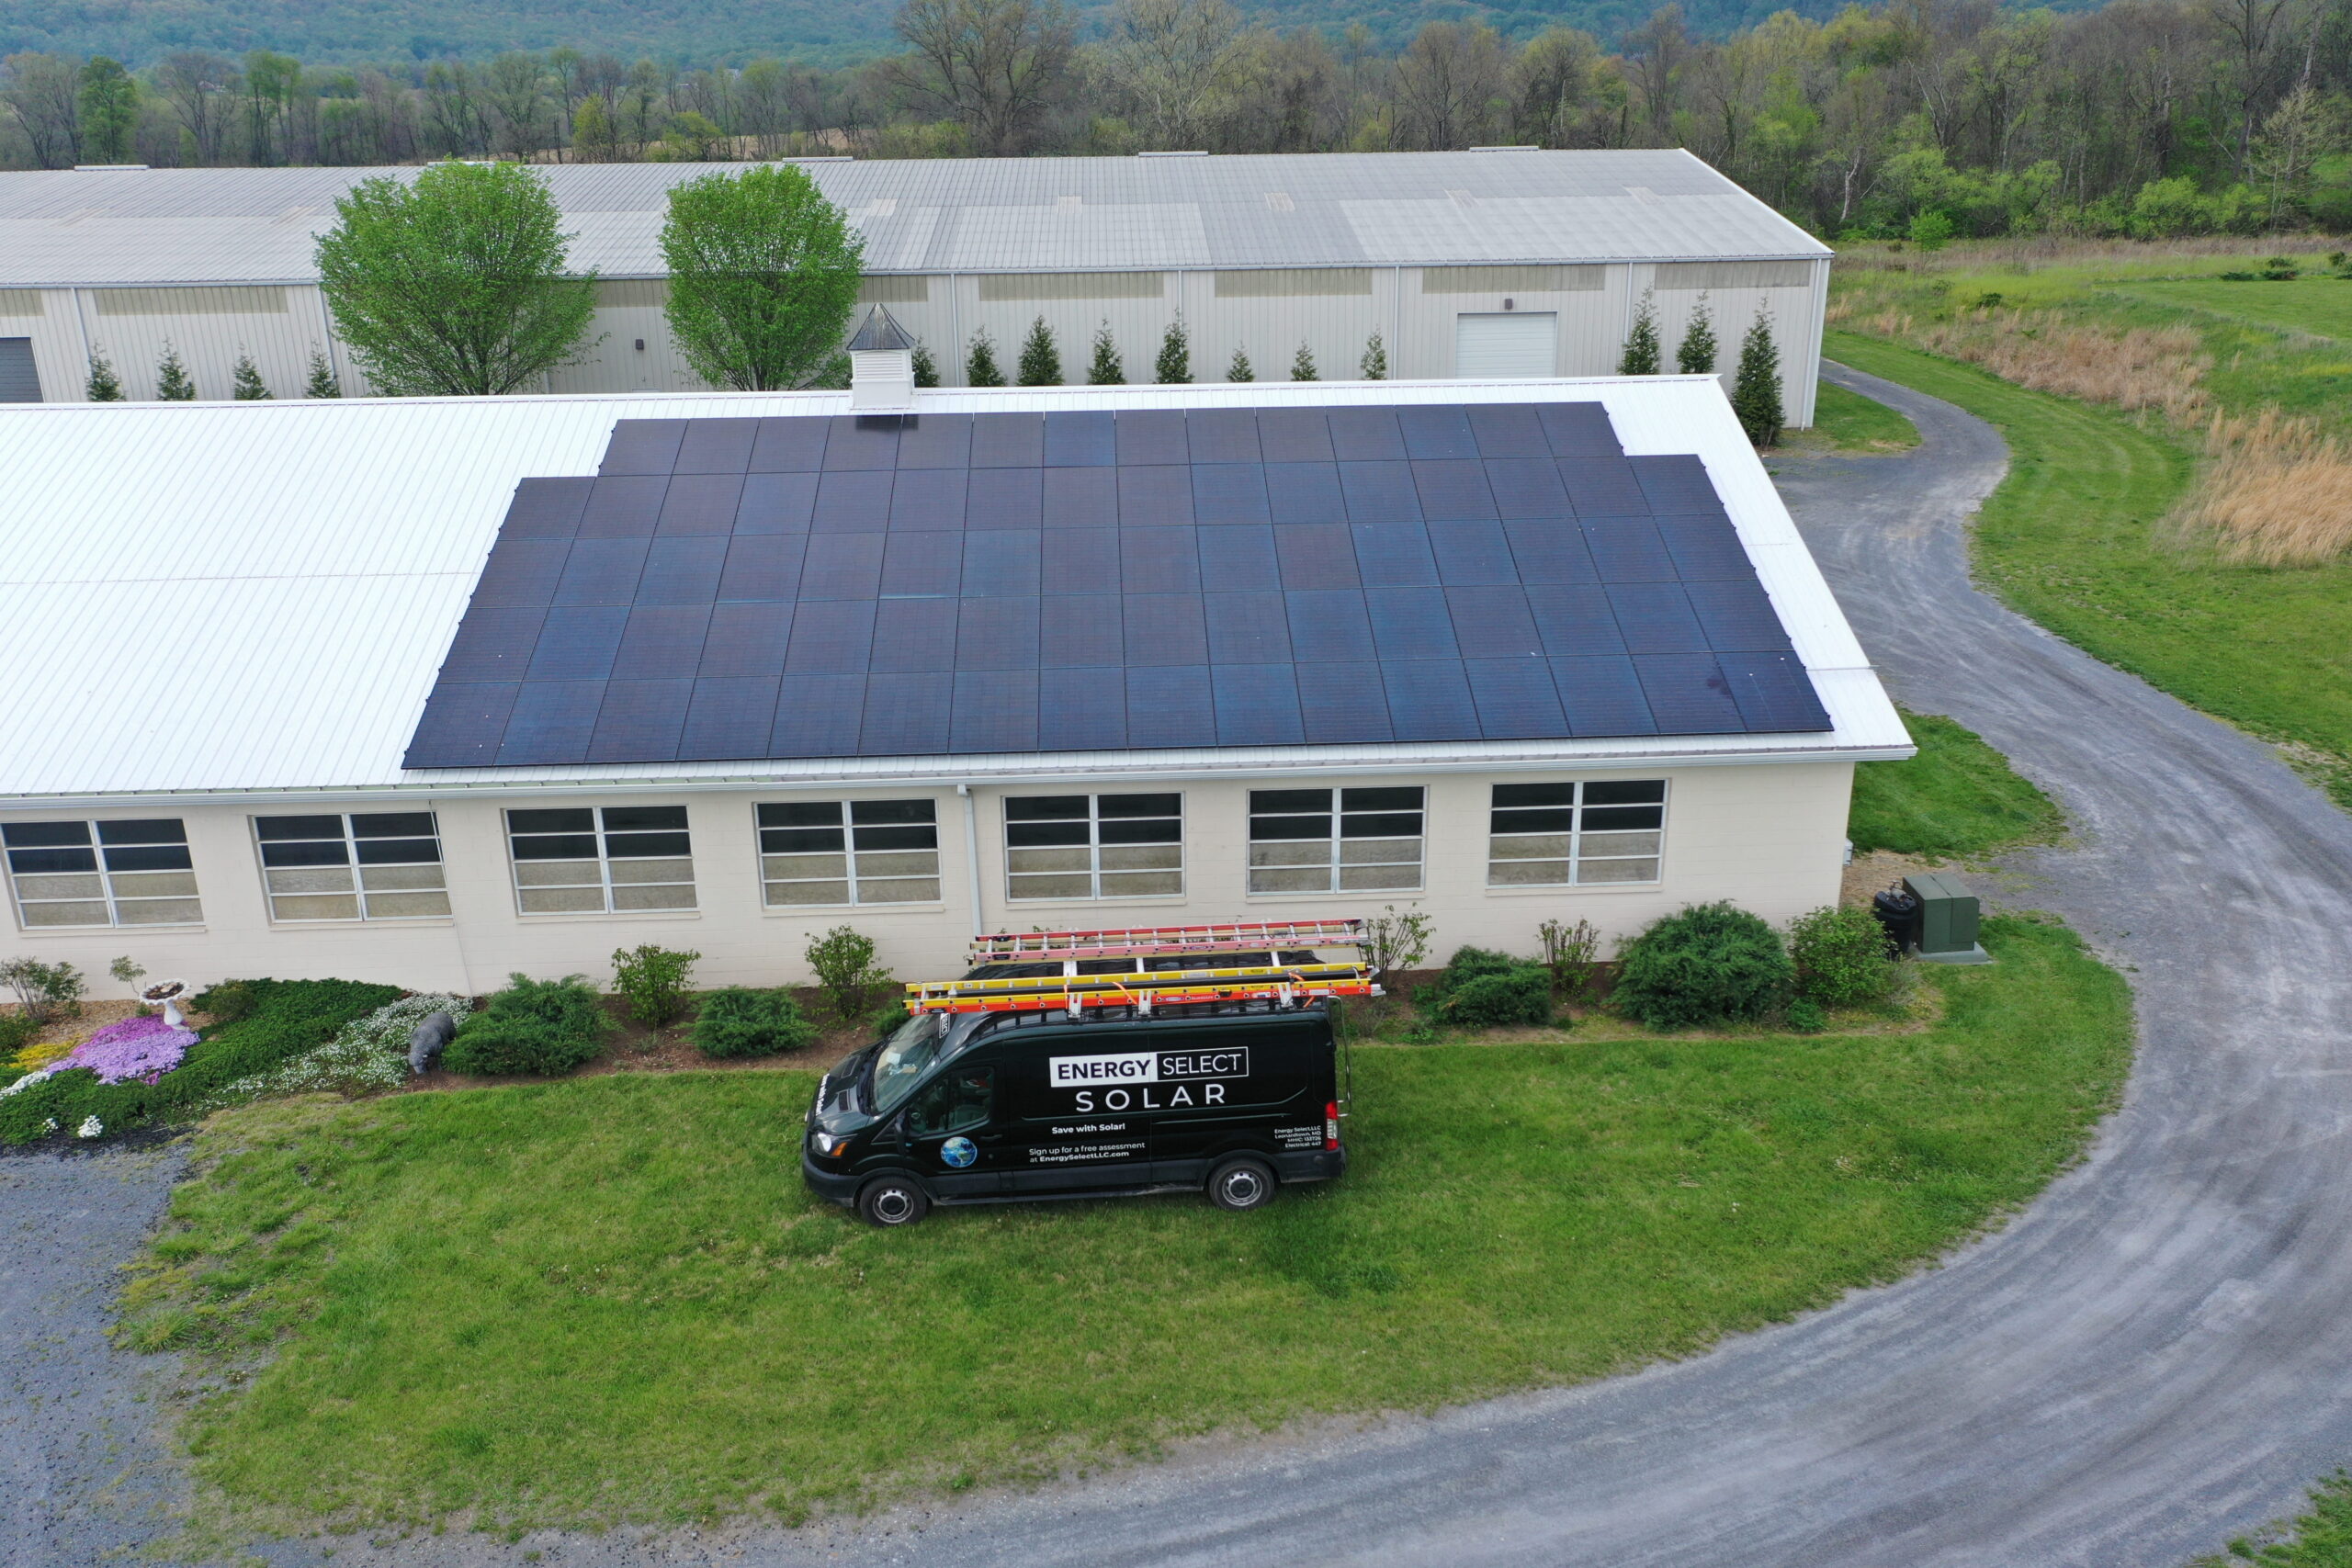
For businesses that have invested in solar (or are thinking about investing in solar) but are unable to immediately benefit from the tax credit, the Inflation Reduction Act offers a mechanism called transferability, which allows you to sell the tax credit to an unrelated buyer in exchange for cash under Section 6418 of the tax code. Transferability survived the 2025 tax law changes and remains available for solar credits. Getting from a completed solar project to cash involves two distinct stages: registering your project with the IRS before you file, and then making the transfer election on your tax return. This guide walks through both.
Disclaimer The information provided is for informational and educational purposes only and does not constitute legal, financial, or tax advice. We are not licensed tax advisors or financial professionals. The underlying tax laws and regulations mentioned in the article are complex and subject to change and interpretation. You should consult with a qualified professional to understand how the law applies to your specific circumstances.
Additional Resources
For the most current forms, publications, and frequently asked questions about transferability, refer to:
- IRS – Registering for Transferability
- User Guide for Registering (Publication 5884)
- IRS – Transferability
- IRS – Transferability FAQ
Who Completes the Registration?
The registration must be made by the taxpayer that will report the credit on its tax return. This matters more than it sounds, because registering under the wrong taxpayer identification number is one of the most common reasons registrations get kicked back. The IRS is explicit: never use the EIN of another taxpayer, even a closely related entity.
- A corporation, S corporation, or partnership that owns the solar system directly registers under its own EIN.
- If the system is owned by a single-member LLC that is owned by an individual, the IRS disregarded-entity rules call for registering under the LLC’s own EIN and name (registrant type “sole proprietorship”), with the credit reported on the owner’s Form 1040.
- If the single-member LLC is owned by a corporation or partnership, register under the parent entity’s EIN and name — the entity that files the return where the credit will be reported — and disclose the LLC’s ownership of the system in the registration’s “Additional Information” field.
If you are not certain how your LLC is classified for federal tax purposes, confirm it with your tax professional before creating any accounts. Every later step keys off this answer.
When to Register
You must complete the registration process before filing the tax return on which you make the election. The IRS user guide provides the following requirements:
- “Placed in Service” Requirement: A critical prerequisite is that the facility or property generating the credit must be placed in service before you can register it. You cannot request a registration number for a facility that is not yet in service.
- Specific Timeframe: The current recommendation is to submit your pre-filing registration at least 120 days before the due date (including extensions) of the return on which you will report the credit. This window is intended to provide enough time for the IRS to review the submission and for you to respond if the agency requests additional information.
Part 1: Access the IRS Portal and Set Up Your Account
Step 1: Access the Portal and Verify Your Identity
- Navigate to the Portal: The IRA/CHIPS Pre-Filing Registration tool can be found at www.irs.gov/eptregister. Select the option for first-time users.
- Verify Your Identity with ID.me: The IRS uses ID.me for sign-in. The person registering — an officer or other representative legally authorized to act for the business — verifies their identity with a photo ID and a selfie. You are verifying your personal identity here, not the entity’s, and it only has to be done once — but allow extra time in case ID.me requires manual review.
Step 2: Authorize Your Business’s Clean Energy Account
The first time you log in, you must authorize an Energy Credits Online account for your business. You can access the business online accounts page here once you are logged in with the account created in Step 1.
- Start Authorization: From the landing page, select “Start Authorization.”
- Provide the Business’s EIN: Enter the EIN of the registrant — the taxpayer that will report the credit (see “Who Completes the Registration?” above).
- Provide Personal Information: The authorized user enters their first name, last name, and address exactly as they appeared on their latest personal income tax return.
- Provide Entity Information: Enter the business’s official legal name and address exactly as they appear on past tax filings.
- Review the Attestations: You must attest that the information is true and that you have the legal authority to act on behalf of the business.
Clarification: If Authorization Fails. The information you provide is compared to IRS records. Mismatches — a name that does not match the last filed return, a wrong address, a transposed EIN — can cause the authorization to fail or the registration to be returned later. Fix the information and try again.
Part 2: Navigate to the Registration Dashboard
- Select Your Business: After authorization, you will land on “Welcome to your business online accounts,” which lists every business for which you are an authorized user. Click the tile for the business registering the solar credit.
- Choose the Program Area: On the “Welcome to IRS Clean Energy” page, find the area titled “Elective Pay and Transferability Registration” and click “Get Started.” (The vehicle-related tiles on that page are for dealers and manufacturers — not you.)
- Opt In to Email Notifications: On the registration dashboard, the “Email Notifications” panel lets you receive an alert whenever your submission status changes. If you do not opt in, you are responsible for returning to the portal to check status manually. Notifications come from DoNotReply@account.irs.gov — watch your spam folder.
- Open “Credit Registration”: The dashboard’s other tile, Credit Registration, includes “View Registrations” — the page where you monitor submissions, read IRS comments, and eventually retrieve your registration numbers.
- Start the Application: Choose the tax year from the dropdown — this is the year your tax year begins, for the year the system was placed in service — then select “Add New Package.” Have the registrant’s EIN, its filing history, and the solar facility details ready.
Tip: Every data-entry page has “Next,” “Back,” and “Save Progress” buttons at the bottom. Save as you go — you can leave the tool and finish the registration across as many sessions as you need.
Part 3: Complete the Registration Application
General Information (Four Pages)
- Page 1 — Registrant information: The tax period and registrant identity. You will enter two date fields that must line up: the tax year of the election (the 4-digit year in which your tax year begins) and the month/year your tax period ends. A calendar-year business registering a system placed in service in 2026 selects tax year “2026” and period end “December 2026.” A fiscal-year filer with a July–June year that includes the placed-in-service date selects the year the fiscal year began and its actual end month. Misaligned entries here are a named troubleshooting issue in the IRS guide. You will also enter the registrant’s legal name, EIN, and registrant type — select exactly one (C corporation, S corporation, partnership, sole proprietorship, and so on).
- Page 2 — Address: Choose domestic or foreign format, then enter the mailing address from the registrant’s last annual return. The registration tool cannot be used to change an address in IRS records.
- Page 3 — Banking: A bank account in the registrant’s name: the account number (8–17 digits) and routing number (9 digits), each entered twice to confirm. The IRS collects this for program integrity even when you are transferring the credit rather than claiming a direct payment.
- Page 4 — Returns Filed: Check every type of federal return the business filed in the last two years — income tax returns such as Form 1120, 1120-S, or 1065 and employment tax returns in the Form 94X series (Form 940, 941, etc.) all count. If you select “None,” a text field asks you to explain why the business has no filing requirements.
Credit Selection
Clarification: Choosing the Right Solar Credit. For solar projects placed in service after December 31, 2024, select Section 48E, Clean Electricity Investment Credit. Section 48, Energy Credit, applies to earlier projects. Both are computed on Form 3468, but they are different credits in the registration tool, and the same facility cannot be registered for both an investment credit and a production credit for the same tax year. If you are unsure which applies, your placed-in-service date decides. Check the box for the credit, click “NEXT,” and confirm your selection on the Credit Summary screen before moving to facility information.
Facility/Property Information
Each individual facility needs its own registration number. Click “ADD FACILITY/PROPERTY” and enter, for each solar project:
- Type of Election: Indicate that you intend to make a transfer election for this property.
- Important Dates: The date construction began and the date the system was placed in service.
- Physical Location: The street address of the system (with city and ZIP), or — if the site has no street address — the state, county, and GPS coordinates. Coordinates must be decimal format with six digits after the decimal point (for example, latitude 38.897957, longitude -77.036560) — no degrees/minutes/seconds, no letters, and remember U.S. longitudes are negative. Use the same coordinates you will report on Form 3468 with the return.
- Type of Facility: Solar (including photovoltaic).
- Source of Funds: Select “N/A” — this question applies to elective payment registrants, not transfers.
- Low-Income Community Bonus: Answer whether the project received a low-income community bonus allocation.
- Published 48E Table: A yes/no question asking whether the facility type appears in the IRS’s annually published table of qualifying 48E technologies — solar photovoltaic is among the listed technologies.
- Additional Information: A free-text field for anything that helps the reviewer — for example, an explanation that the system is owned through a disregarded single-member LLC.
Supporting Documents
Expand the facility’s panel, select “edit,” then “Add/Edit Documents” to upload documentation showing the property exists and is owned by the registrant, and corroborating the key dates:
- Proof of ownership of the solar system.
- The construction permit showing commencement of construction.
- The utility’s permission-to-operate letter (or, for off-grid systems, the electrical permit to operate from the authority having jurisdiction).
Documents should clearly reference the specific installation being registered. And mind the file-name rules — they are a leading cause of upload failures: names under 20 characters, letters and numbers only (no hyphens, underscores, or other special characters), exactly one period, and a unique name for every file. If uploads still fail, the “Connect With Us Using Secure Messaging” tile in the top-right corner of every page lets you send documents to the review team outside the system.
Part 4: Submission, Review, and Your Registration Number
- Submit for Review: Review each field against the registrant’s tax return — mismatched names, numbers, and addresses are the leading cause of returned packages — then submit. A green “Success” banner and confirmation message mean it went through. If you get a save or submit error instead, try at least twice, then log out and back in and try again.
- Note the Package ID: Every submitted package is assigned a unique Package ID. Reference it whenever you contact the IRS through Secure Messaging so the team can locate your submission.
- Monitor Weekly: The IRS recommends checking “Your Registrations” weekly. Statuses run from “Awaiting Assignment” to “Under Review” to “Returned – Closed” (numbers issued) or “Returned – Open.” The package is locked against changes while under review.
- Clarification: Responding to “Returned – Open.” This status means the reviewer needs more information. You have 35 days to respond; answering within the window keeps your place in line, while missing it closes the case and any resubmission goes to the back of the queue as a new request. Respond only after addressing every reviewer comment — each “Submit” locks the package again.
- Receive the Registration Number: When approved, a unique 12-digit registration number appears in the Registration # column for each facility. It is tied to the election type, credit, facility, owner, and tax year — and it is valid only for that tax year.
Part 5: Completing the Transfer and Filing Your Tax Return
A registration number does not transfer anything by itself. The transfer happens through paperwork between you and your buyer, and then on your tax return.
The Transfer Election Statement
The buyer must be unrelated to you, and must pay in cash — actual money, not a discount against other invoices or an exchange of services. Together, you and the buyer complete a transfer election statement that includes:
- The names, addresses, and taxpayer identification numbers of both parties.
- A description of the credit type and the amount being transferred.
- The amount of cash paid and the date(s) of payment.
- The registration number for the facility.
- Required statements and representations from both parties.
The statement must be completed before either party files its return for the year, and both parties attach it. Plan to provide your buyer with the registration number and the records that substantiate the credit — evidence of the placed-in-service date, the cost basis of the system, and support for any bonus credit amounts — and keep copies of everything.
Filing Your Return
- Form 3468, Investment Credit — computes the credit; the registration number goes on Part I, line 1.
- Form 3800, General Business Credits — reports the credit and shows the amount transferred (entered with the registration number in Part III).
- The signed transfer election statement, attached to the return.
The election must be made on an original, timely filed return (extensions count) — it cannot be made for the first time on an amended return. For partnerships and S corporations, the election is made at the entity level and binds all owners. The cash you receive for the credit is not taxable income to you.
The Bottom Line
Transferability turns a tax credit you cannot use into cash you can. The process rewards preparation: clean ownership records, a documented placed-in-service date, a registration submitted months before your return, and a buyer lined up with the paperwork done right. At Energy Select, we design and install commercial solar systems and provide the documentation this process depends on — permission-to-operate letters, cost substantiation, and support for bonus credit qualification. If your business is ready to put solar (and its tax benefits) to work, contact us today.